
|

|

|

|
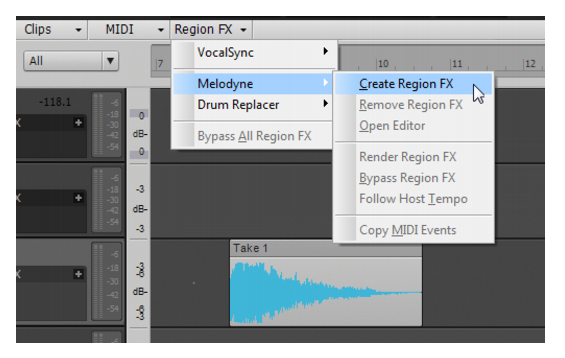
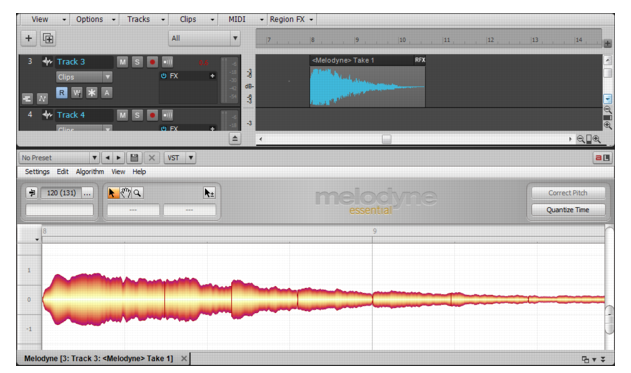
This section describes how to use Melodyne in SONAR. For tutorials and detailed information about using all the features in Melodyne, please see the documentation that is included with Melodyne (in Melodyne, select Help > Manual, or visit http://helpcenter.celemony.com).
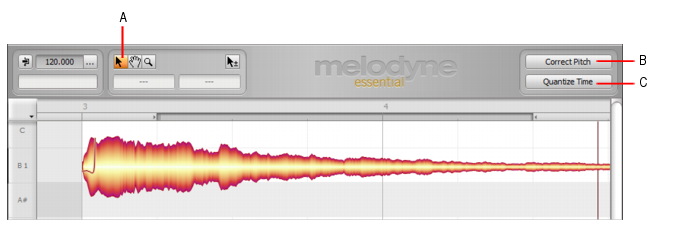
or Select tool
and drag across the bottom part of the clip(s). To select an entire clip, simply click the clip. For details, see Selecting clips.

to fine-tune individual notes. For details, see To modify pitch and timing with the Main tool.
is similar to SONAR's Smart tool in that it is context-sensitive and has different functions depending upon its position relative to a note.
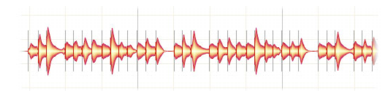
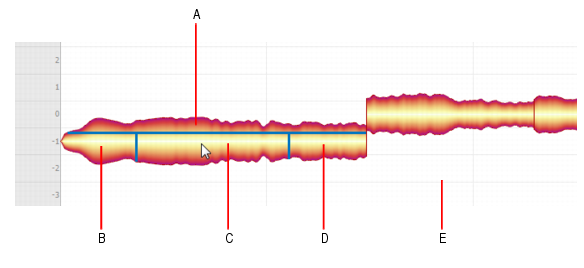
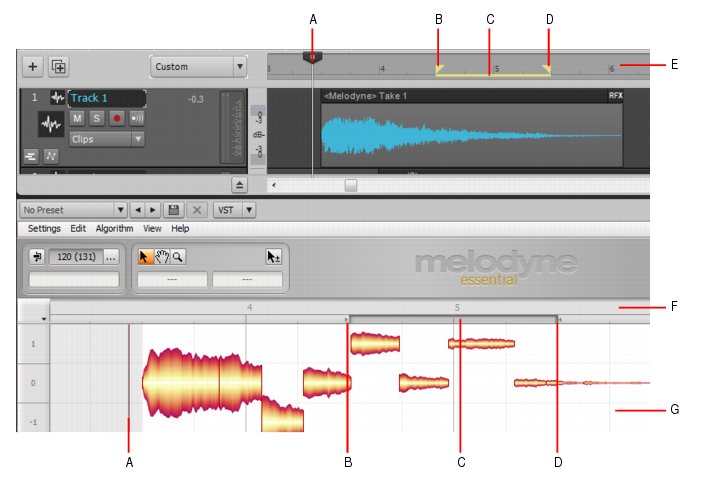
Similar to a clip in SONAR, each note (or “blob”) in Melodyne has several hotspots that you can click to modify the blob. To display these hotspots, select View > Show Blob Info in Melodyne. Melodyne now displays thin lines to identify the various hotspots when you point to a blob. Each blob has a front, center, back, and upper hotspot. The mouse pointer indicates the function of each hotspot.Figure 470. Main tool hotspots on Melodyne blobs.
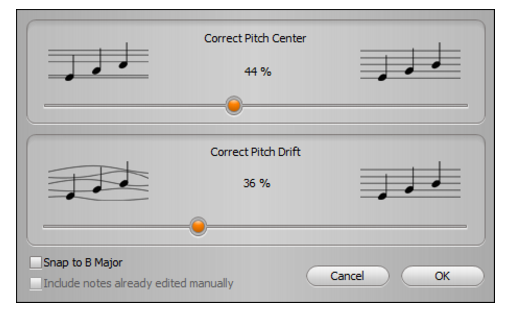
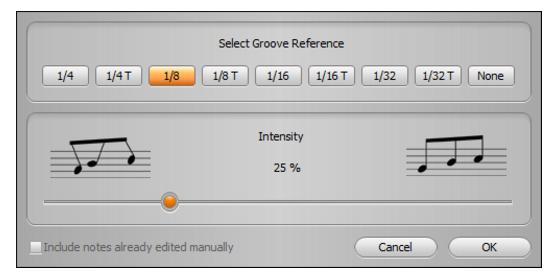
. If you also wish to edit these notes, select the Include notes already edited manually check box.
, if desired.
. If you also wish to edit these notes, select the Include notes already edited manually check box.
, if desired.
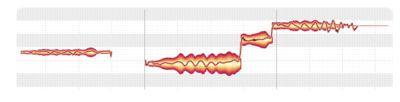
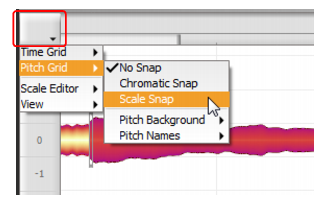
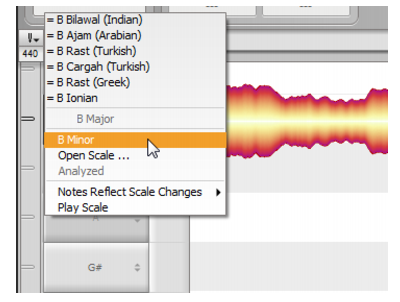
Melodyne can change the pitch of notes either continuously, or force the notes to snap to any scale.

Tip - Searching Documentation
Tip: To search for a specific topic, type your search query in the Search Cakewalk.com field at the top right of this page.
When the search results appear, click which product's documentation you would like to search to filter the search results further.
Note - Using Offline Help
Note: If you prefer to always use offline Help, go to Edit > Preferences > File > Advanced in your Cakewalk software and select Always Use Offline Help.
If you are not connected to the internet, your Cakewalk software will default to showing offline help until an internet connection becomes available.